
Spring-boot is built on top of the Spring framework. It provides starter projects which have the defaults defined and let you override defaults if needed. Thus, many things that the spring boot starters does for you, we may not be aware. In this post, lets see about connection pooling offered by the starter projects spring-boot-starter-data-jpa and spring-boot-starter-jdbc.
Connection pooling - Intro
Connection pooling is a mechanism that helps applications maintain a pool of database connections in the background. If you wonder what is the need of maintaining a pool of connections even when not used, it is because creating and closing a DB connection for each request can be time consuming. So the connection pool providers (HikariCP is one such connection pool provider) manage the connection pool and reuse them across requests instead of closing and recreating for each request.
Example
To understand it better, consider a simple scenario of our application having 2 min and 5 max connections in the pool with the max lifetime of unused connection is set to 20 mins i.e connections not used for more than 20 mins, will be closed. So when the application starts there are 2 connections created and there in the pool. Now let’s assume there are 3 requests coming to the service at nth second. Now the connection pool uses the 2 existing connections to 2 requests and mark them as used. Then creates one more connection and assigns it to the 3rd request after marking as used. Now once the 3 requests are served, instead of closing them, they are returned to the pool after marking them as available. Now lets assume at n+5th second, there are 6 requests coming to the server. Note that there are already 3 connections maintained in the pool and 3 requests are assigned these connections. Then, 2 more connections are created and assigned to the 4th and 5th requests. The 6th request waits till any of the 5 requests which were alloted the db connection is complete and then get assigned the unused connection. This is because the connection pool provider don’t want to increase the number of connections above 5. Now there are no requests coming to the service for the next 20 mins. Instead of maintaining the 5 DB connections, the connection pool provider will close 3 connections and maintain only 2 connections.
Note that the turn-around time of the 6th request is delayed at n+5th second. To fine-tune, we need to have the metrics enabled with actuator & prometheus and visualised using a tool like Grafana. To know how to monitor a spring boot application with prometheus and grafana, checkout this post. With the monitoring results, you should be able to come to a conclusion if applications achieves the desired SLA with 5 db connections most of the times or it can’t. Based on the analysis, we can increase or decrease the number of connections in the pool.
HikariCP config with Spring-boot
Go to https://start.spring.io and create a demo application with Spring web & Spring data jpa & Mysql as dependencies. Start mysql server in your laptop. Update the db name and credentials in the application.properties file like this
spring.jpa.hibernate.ddl-auto=update
spring.datasource.url=jdbc:mysql://${MYSQL_HOST:localhost}:3306/db_example
spring.datasource.username=springuser
spring.datasource.password=ThePassword
Now start the spring-boot application by running,
mvn spring-boot:run
Default settings
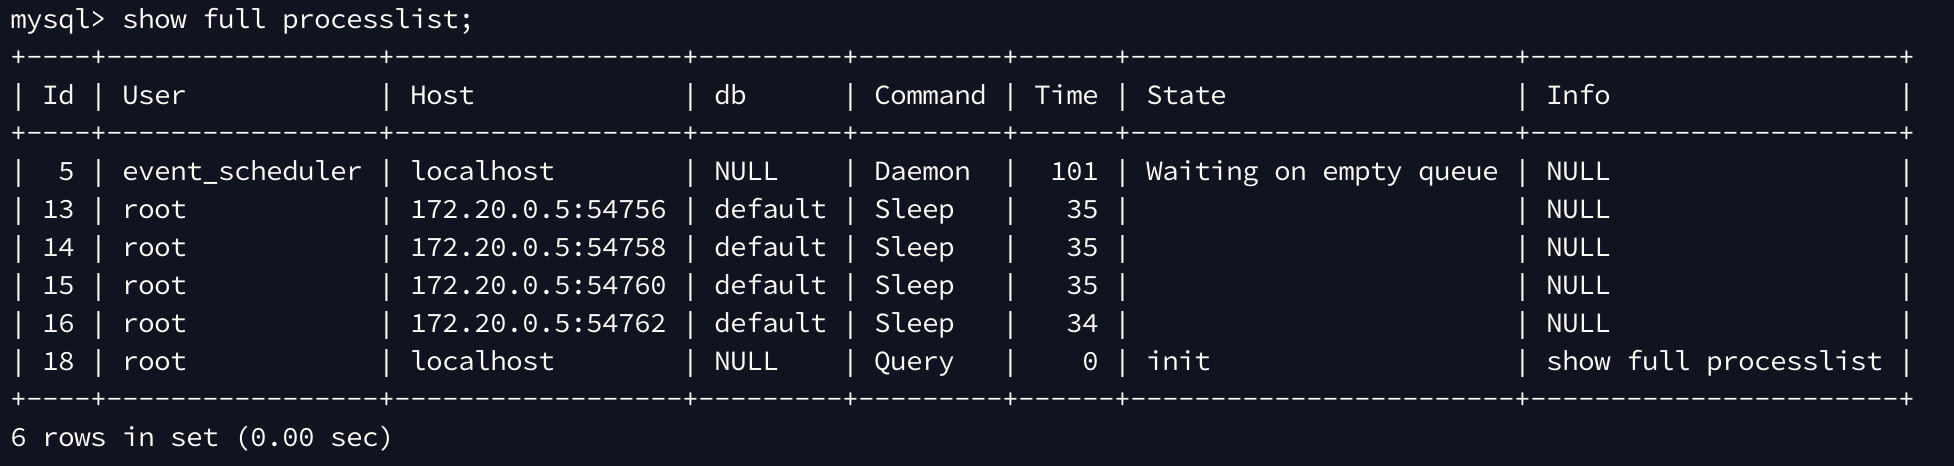
Once the application is up and running, login to your mysql server and then run the below command
show full processlist;
You will get output like this
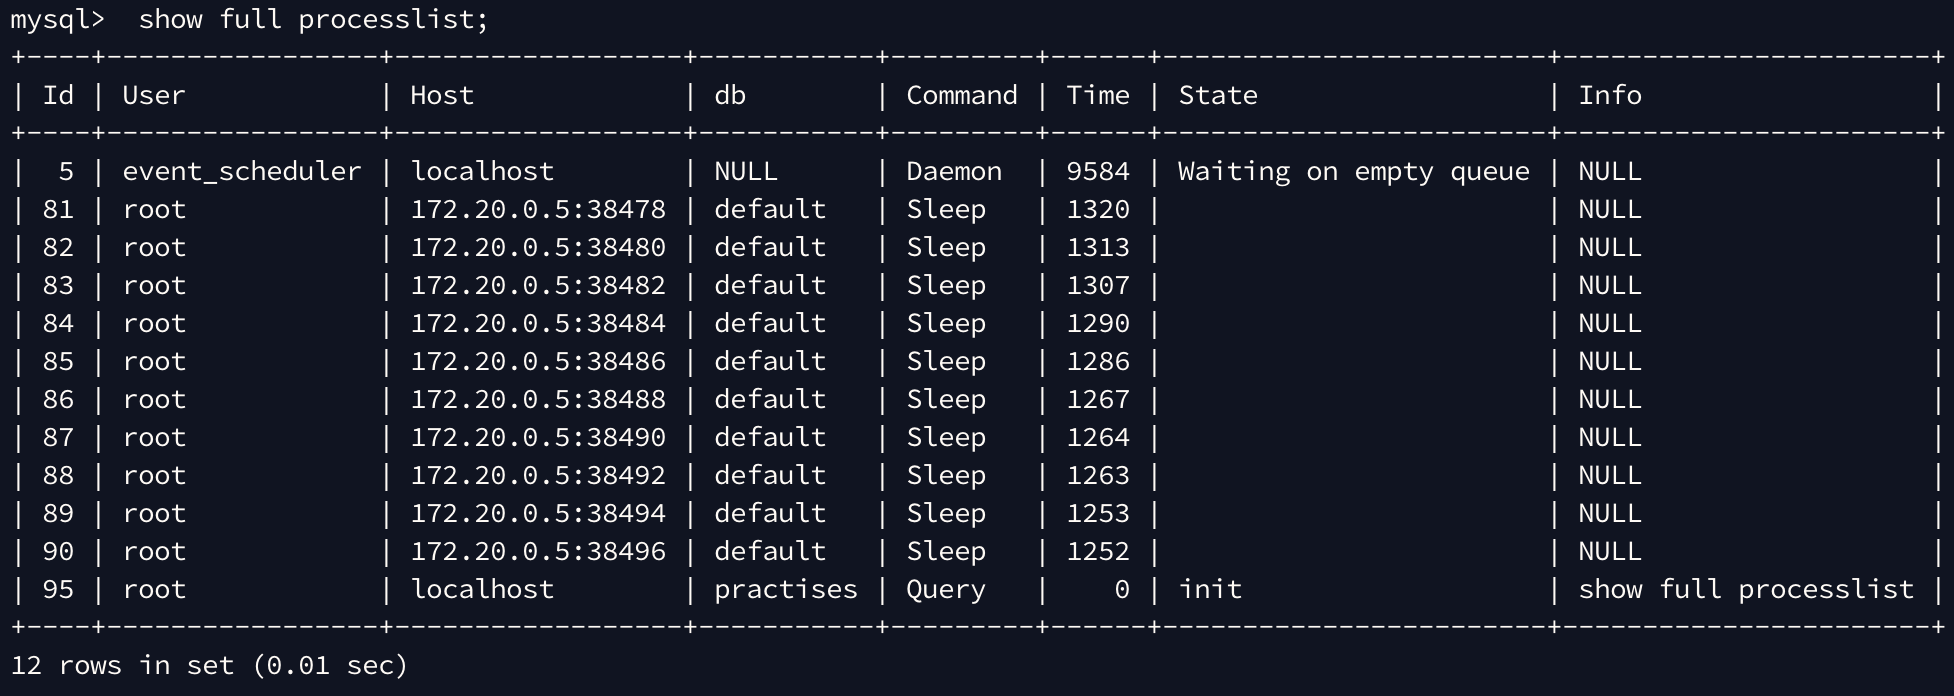
Each line in the query output represents a connection. MySQL reference explains in detail the above command.
- The entry with id 95 is the mysql shell from where I ran the above SQL command. This is clear from the info column which shows the connection was running the
show full processlistcommand. - The entry with id 5 is there to execute any scheduled events in the database. More details on this here
- The entries from id 81 to 90 is the connection pool created by our spring-boot application. That is a total of 10 entities. So far we haven’t changed the connection pooling config. So this implies the default connection pool size is 10. Right now they are not in use and hence shows the command as
SLEEP. The host column shows the mysql client IP address which uses the connection. I am running the spring application in a docker container and as you might have guessed the host name represents the docker container IP address. The another column that is of interest is theTimecolumn. This shows the time the connection has been in the current state. As all the pool connections are in sleep state, this indicates the seconds the connection is idle.
Fine tuning
Spring-boot by default makes use of the default values of HikariCP. To know about the available configuration parameters and its default value, please check here.
The default value of the config maximumPoolSize is 10 and the minimumIdle is not set. So by default the connection pool is fixed and is equal to the max pool size. Now let’s say, you want to set the min pool size to 4 and max pool size to 8, you can do so by the below configuration in the application.properties file
spring.datasource.hikari.maximumPoolSize=8
spring.datasource.hikari.minimumIdle=4
Please note the prefix spring.datasource.hikari before the hikaricp configurations when defined via spring boot. Now if you restart the application, you will see that there are only 4 connections maintained in the pool.
Same way, you can change any other HikariCP configuration and fine tune your application. Please let me know in the comments if you need help or something is not right.
Comments